Subjects are scanned using an Xbox Kinnect and 3D scanning software called Skanect. This requires a well-lit room with consistent lighting around subjects to obtain the best results.

The better the scan quality, the less time spent tidying up with 3D Modelling software. MeshMixer is ideal for this when manipulating objects for 3D printing. The subject’s characteristics are slightly accentuated to give a characterized feel while the base of a head is modified to include a hole for the spring to be inserted.
Baseplates are created using a web browser tool called Tinkercad. Unlike Meshmixer, it’s suitable for 3D designs that require mathematical precision. The baseplates are designed to fit the voice chip pictured. This voice chip records up to ten seconds worth of a customizable catchphrase.
The head, body and baseplate are printed separately with black PLA filament on my M3D printer.
Approximate print times
Head: 12 hours
Body: 16 hours
Baseplate: 8 hours

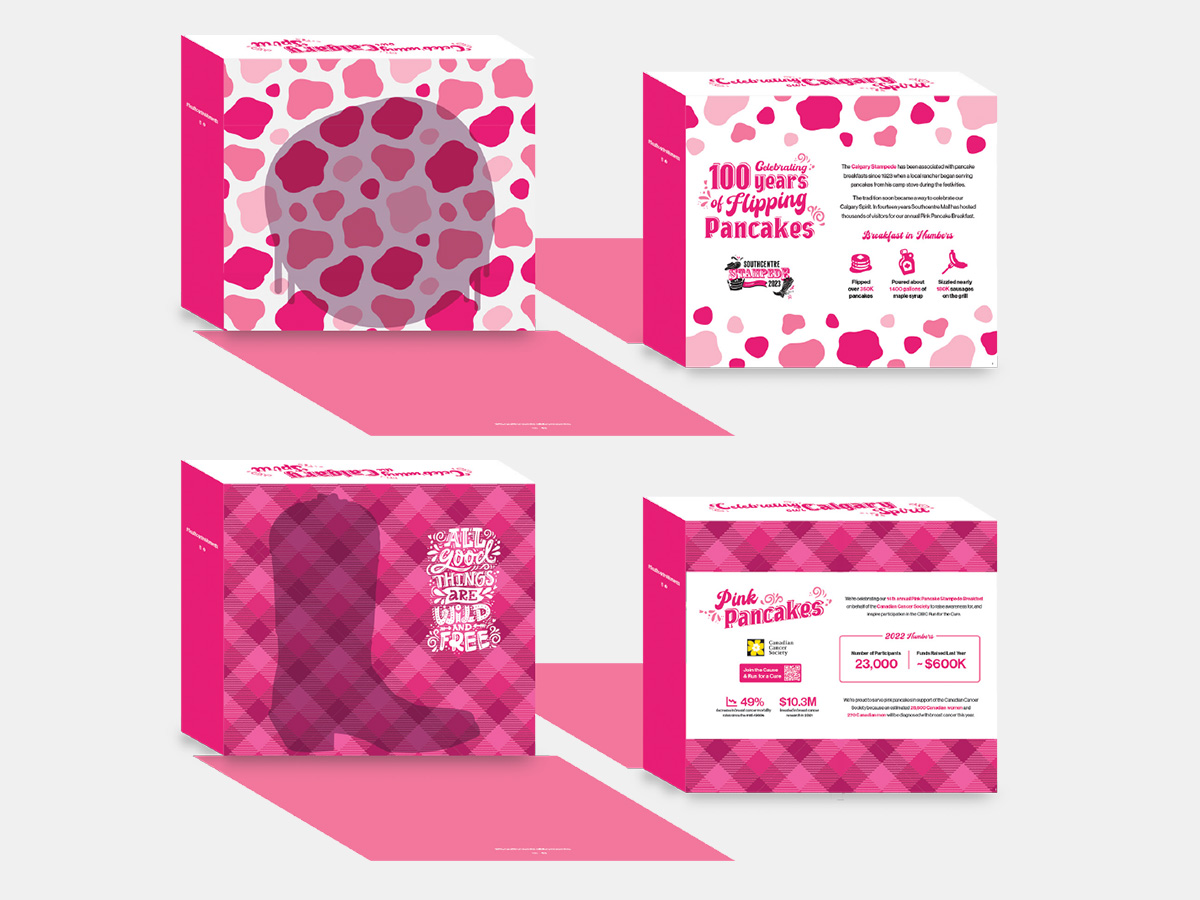
All slides of the packaging combine to form a continuous, panoramic environment.
Before painting the bobble heads, an e-poxy resin coat is applied to hide noticeable horizontal lines from 3D printing.

Related Works